Leak test your PC water cooling kit and avoid possible disaster.
Step 4: Connect your water cooling loop and fill it.
Leak Test in Progress
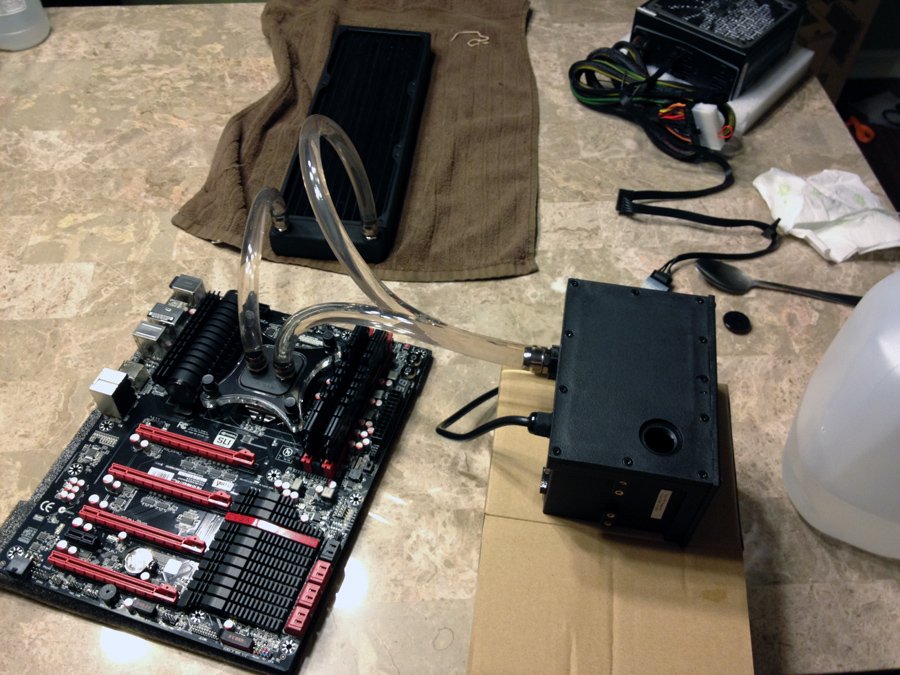
Now that you have your radiator flushed, connect the remaining hoses to each of the other components, fill your loop up by using the same funnel method or by carefully pouring the water into your reservoir. Once you have your reservoir filled, and water at the pump level, you can use a Phobya ATX Pin-Bridging Plug to trick your power supply into turning on. To do this, simply plug in the bridge to your 24pin connector on your power supply. Flip on the switch and then the pump will start to run. Make sure you keep pouring water into the loop to avoid the pump running dry. A pump running dry is when there is no water flowing through the pump, causing it to burn out.

PSU Bridge
Once your loop is filled completely, let it run for about 12 – 24 hours. The more the better. This way you can see if you have any faulty components that need to be changed. If there are no leaks, congratulations! Mount your loop and then overclock the heck out of your rig and enjoy the nice cool temps!