Whats up guys! Back for Part 3 of building my own Tech Station / Bench Rig. Thinking I’m going to have a new motherboard in the house pretty soon to test so I need to get this wrapped up! Today I’ll be showing you guys the mounting of the Motherboard Tray that we looted from our old Antec P180 as well as the Hard Drive Bay.
As always, please remember to wear safety glasses when modding with power tools. I actually felt a piece of wood hit my glasses today, so you bet I was happy to be wearing them.
First up we have the parts
1) The Table we built in Part 2
2) The Motherboard Tray and HDD Tray we looted from our old P180 in Part 1
3) Nylon Spacers, available at Ace Hardware or any other hardware store.
4) Washers, if needed.
5) Wood screws, either self tapping or also have a drill bit handy!
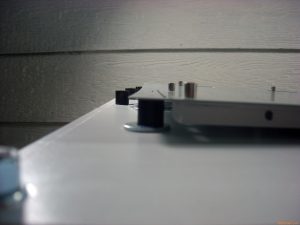
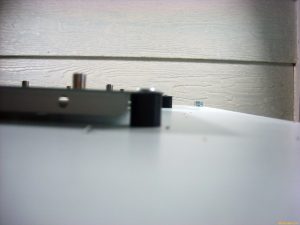
Next up we want to get the spacers in place underneath the motherboard tray (for my Tech Station I didn’t want to directly mount the motherboard to the wood. It’s really up to you). You’ll want to put the motherboard in a place where the cards are obviously on a side, and also give yourself some room off of the bottom of the tray as well, just in case you get an XL-ATX motherboard in for testing. You never know!
 (note I ended up not needing those washers, I found some screws on hand that were just the right length not to go through the spacer and the wood)
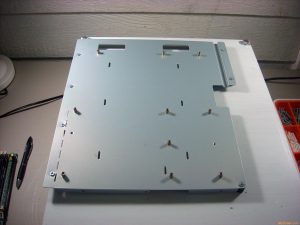
Next I screwed down all the preexisting holes, and added 2 in the corners for more stability, my 18v cordless and a normal drill bit chewed through the soft aluminum of the motherboard tray like nothing:
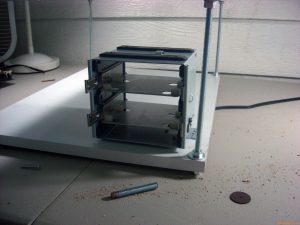
Now that the motherboard tray is secured to the Tech Station / Bench Rig, I decided to use that HDD bay from the p180. I picked a spot on the bottom shelf and screwed down using an existing hole, and then screwed from the bottom up into another existing hole. I had to drill 3 holes for this one, this is where the old saying “measure twice, drill once” goes a long way. My version, “Eyeball it and drill 3-4 times” doesn’t cut it 🙂
There we have it, part 3 is done. Next up I’ll mount an optical drive, some straps for a power supply, and a lights/buttons. If you guys have any other suggestions please feel free to leave a comment! I love hearing from you guys.


Just saw this, it’s looking pretty solid. I always appreciate a good test bench.